
PVC Transportation Flooring
PVC Flooring Substrate and Site Information Checklist for Bus and Coach Projects
A practical B2B checklist for documenting bus and coach floor substrates, transitions, dimensions and installation conditions before PVC flooring quotation and approval.
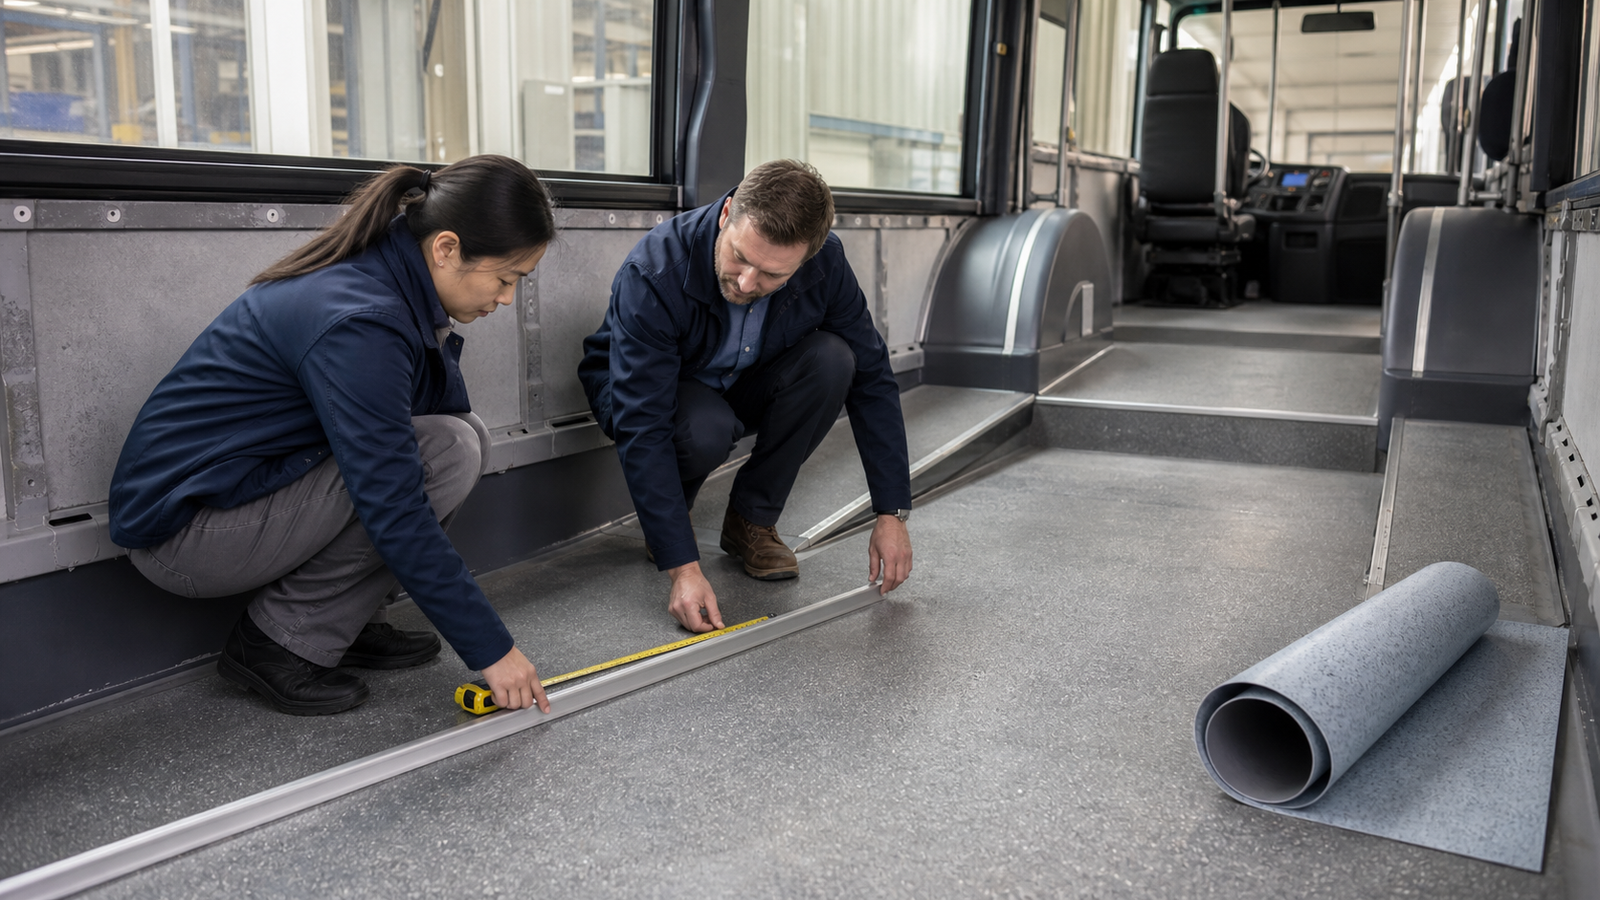
Before requesting PVC flooring for a bus or coach project, document the substrate material and condition, usable floor dimensions, wheel arches, steps, access panels, joints, slopes, edge details and installation environment. Send drawings and dated site photographs, then ask the flooring and installation parties to confirm responsibilities, preparation requirements and the approval sequence. A colour sample alone cannot establish installation suitability.
Flooring selection and installation planning are related but different decisions. Overseas buyers can compare colours, patterns and roll dimensions, yet still face delays if the supplier receives no reliable information about the surface beneath the flooring or the vehicle features that interrupt the floor area.
This checklist helps purchasing, engineering and installation teams prepare a shared information package. It does not prescribe an adhesive, preparation method or installation system without confirmation from the responsible parties.
Identify the substrate and project stage
State what the flooring will be installed over and whether the vehicle is a new build, refurbishment or repair. Name the substrate as precisely as the project documents allow. If coatings, fillers, old adhesive or existing flooring are present, record them rather than assuming they can remain.
- Vehicle type and project stage.
- Substrate material or construction description.
- New, repaired or previously covered surface.
- Known coatings, residues, joints or patching areas.
- Party responsible for substrate preparation and installation.
Provide drawings with usable dimensions
Send a dimensioned floor plan or vehicle drawing showing the usable floor area. Mark the centreline or another fixed reference so supplier and installer interpret orientation consistently. Photographs are useful context, but they do not replace dimensions.
Include doorways, wheel arches, steps, seat or equipment mounting areas, access panels and other interruptions. If several vehicle variants share one flooring programme, identify each layout separately.
Record transitions, edges and openings
Show where the floor meets walls, steps, ramps, thresholds, hatches and other materials. Note whether profiles, coving or separate finishing components are expected, then ask which party supplies and installs them. Do not assume a detail from one vehicle transfers unchanged to another.
Describe the surface condition without making conclusions
Use dated photographs and a short condition log to show visible unevenness, gaps, fasteners, contamination, damage or moisture concerns. Measurements and acceptance limits should come from the relevant project specification or responsible installation party.
| Buyer information | Why it matters | Confirmation required |
|---|---|---|
| Substrate description | Defines the surface under the flooring | Preparation and installation route |
| Dimensioned layout | Supports roll and cut planning | Reference direction and allowances |
| Steps, hatches and wheel arches | Identifies interrupted areas | Detail treatment and responsibility |
| Condition photographs | Records visible project state | Further inspection or preparation needed |
| Site conditions and schedule | Connects material planning to installation | Storage, acclimation and work sequence |
Clarify the installation environment
State where material will be stored, where installation will take place and the expected project sequence. Share any specified environmental limits with the supplier and installer. Avoid inventing generic temperature, humidity or waiting-time values when the selected materials and project specification have not been confirmed.
Separate material approval from installation approval
A flooring sample can support review of colour, pattern and surface appearance. It does not approve the substrate, adhesive, joint treatment or completed floor assembly. Keep separate records for material selection, layout approval, installation-method confirmation and finished-work acceptance.
Build a controlled pre-installation information package
- Issue the latest drawing with vehicle variant and revision.
- Attach dated photographs keyed to locations on the drawing.
- List substrate, transition and condition questions that remain open.
- Assign responsibility for preparation, materials and installation.
- Record the confirmed flooring reference, roll plan and sample revision.
- Approve any trial area or installation method required by the project.
Checklist before quotation or order confirmation
- Vehicle type, project stage and number of each layout.
- Dimensioned floor drawings with orientation and revision.
- Substrate construction and current surface condition.
- Steps, slopes, wheel arches, hatches, thresholds and edge details.
- Estimated flooring quantity and roll-layout assumptions.
- Storage, installation location and project schedule.
- Responsible installer and preparation scope.
- Required samples, documents and approval steps.
- Destination and requested delivery terms.
Related Product Pages
Preparing a bus or coach flooring inquiry? Send LUTOP the vehicle layout, substrate description, dated floor photographs, selected flooring references, quantity and destination so the material request can be reviewed against the project information.